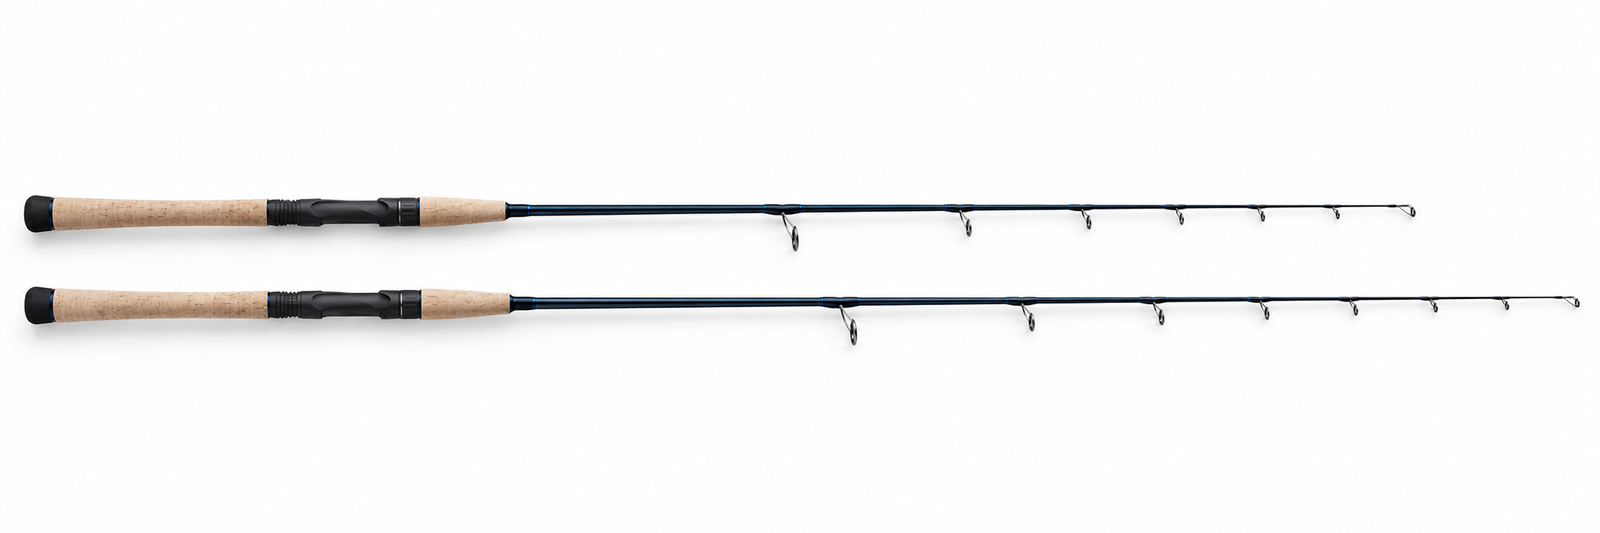
7 Foot vs 7’6 Inshore Rod: Where Six Inches Help, and Where They Get in the Way
I choose a 7-foot inshore rod for restricted casting lanes, close presentation work and easier storage. I lean toward 7 feet 6 inches for open-water casting and additional working reach, provided the handle, lure rating and assembled balance suit me. Neither length automatically casts farther, sets a hook harder or lands a larger fish.
I make the decision at two imaginary casting stations: beside a boat lift, where a blank can tick against a crossmember, and on an open flat, where wind puts a shallow curve in my braid. The useful rod changes with the space around my hands.
Should I choose a 7-foot or 7’6 inshore rod?
I choose 7 feet when overhead clearance, dock work, downward lure strokes or storage restrict my movements. I choose 7 feet 6 inches when open casting room and useful tip reach matter more. I settle the choice with the actual reel attached, because grip placement and balance can outweigh the nominal length.
| My main job | My starting choice | What could change my decision |
|---|---|---|
| Skipping beneath boat lifts | 7 feet | A longer rod that clears the same release path comfortably |
| Casting over an open grass flat | 7 feet 6 inches | Excess swing weight or poor loading with my lure |
| Walking a topwater from a low position | 7 feet | My height, deck height and preferred stroke |
| Managing a cork and leader | 7 feet 6 inches | Rear-grip interference or limited overhead space |
| Fishing seated in a kayak | Fit first | Bow clearance, seat position, net access and butt length |
| Carrying one rod in a tight vehicle | 7 feet | A verified straight insertion route for the longer rod |
I treat these as starting points, not field-test rankings. My fishing plan matters as much as the rod. When I work through redfish locations and presentations, I separate open-water coverage from casts beside structure before selecting length.
What actually changes when I add six inches?
I gain six inches of overall length, but my useful hand-to-tip gain depends on the reel seat and grip. With identical hand positions, the longer rod traces a larger arc during the same rotation. That changes reach and mechanical loading, while blank construction, guides and handle layout determine the actual feel.
A 7-foot rod measures 84 inches. A 7-foot-6 rod measures 90 inches. The difference is 15.24 centimeters, or 7.14% of the shorter rod’s overall length. I would never translate that percentage directly into casting distance.
My hand position matters more than the butt-to-tip label
For a simple comparison, I put my hand pivot 12 inches from the butt of each rod. That leaves 72 inches ahead of my hand on the 7-footer and 78 inches on the longer rod. The working-radius increase is 8.33%.
If the longer rod instead places my hand 18 inches from its butt, both rods leave 72 inches ahead of my hand. The extra overall length then sits behind my grip. That is why I measure the handle instead of assuming that every longer rod gives me six more inches over the water.
| Original rigid-rod calculation | 7-foot rod | 7-foot-6 rod |
|---|---|---|
| Overall length | 84 in | 90 in |
| Assumed butt-to-hand distance | 12 in | 12 in |
| Hand-to-tip radius | 72 in | 78 in |
| Working-radius ratio | 1.000 | 1.083 |
| Tip arc through 30° | 37.70 in | 40.84 in |
| Tip arc through 60° | 75.40 in | 81.68 in |
| Tip speed at an imposed 1 radian/second | 1.83 m/s | 1.98 m/s |
| Moment from an idealized perpendicular 10 N tip force | 18.29 N·m | 19.81 N·m |
I calculate arc length as radius × angle in radians. The speed row assumes identical angular speed. The torque row assumes a rigid lever and a concentrated tip force. A fishing rod bends and receives forces through its guides, so these are explanatory models, not product performance measurements. The governing relationships follow OpenStax’s treatment of rotational mechanics.
Six inches. Where do they go?
I compare overall length with the distance ahead of my hand. Moving the grip can use up the reach I thought I was buying.
7-foot rod / 84 inches
12 in behind my hand + 72 in ahead. This is my assumed comparison geometry, not a measured product handle.
7-foot-6 rod / 90 inches
12 in behind my hand + 78 in ahead. With the same grip position, I gain six inches of working reach.
- 01 / Butt and rear grip
- I check clothing, forearm and seat clearance. Rear-grip length changes the space behind my hand.
- 02 / Reel seat and arbors
- The seat holds the reel; internal supports connect it to the blank. I check the assembled grip rather than assuming a seat position.
- 03 / Reduction and running guides
- I follow the line from the larger guides near the reel to the smaller guides toward the tip. I check knot clearance and alignment.
- 04 / Blank and tip
- I separate length from power, action and recovery. Guide positions in these sketches are illustrative, not a build specification.
| Dimension | 7 ft | 7 ft 6 in |
|---|---|---|
| Overall | 84 in | 90 in |
| Butt to hand | 12 in | 12 in |
| Hand to tip | 72 in | 78 in |
I separate length, power, action and blank recovery
I read length as an overall dimension. I use power as a manufacturer’s description of resistance to loading and action as a description of where the blank bends under an indicated load. I evaluate recovery through how the blank settles after release. Those terms answer different questions.
I compare fast versus extra-fast inshore rod action separately to match the bend response to jigs, treble hooks and live bait.
I compare Medium versus Medium-Heavy inshore rod power separately, using complete lure weight, hooks and cover to choose between the two.
A longer medium-power rod is not automatically stronger than a shorter medium-power rod. I also avoid comparing “medium” labels across manufacturers as if they were a shared laboratory standard. Carbon modulus alone does not tell me the finished rod’s weight, wall design, strength or recovery.
For a build, I inspect the whole chain: blank taper, guide weight, reel-seat position, arbor fit, grip length and butt contact. I do not treat the butt cap as a fixed fulcrum unless it is actually supported. My reel hand, second hand and body contact can all change the loading arrangement.
Does a 7’6 rod cast farther or sacrifice accuracy?
I give a 7-foot-6 rod the first trial for distance when both rods suit the lure and I have a clear casting stroke. Its longer working radius creates potential, not a guaranteed gain. I judge accuracy by repeatable landings and clearance, because loading, release timing, wind and practice can reverse the result.
In open space, a longer radius can produce more tip speed at the same angular speed. My arms still have to supply the motion, and the blank has to load and recover appropriately. A rod that makes me shorten my stroke beneath a branch loses that theoretical opportunity immediately.
At a boat lift, I prioritize a repeatable low release. I want the lure skimming into the opening without my wrist contorting to keep the tip away from a piling. A shorter rod often makes that clearance easier. It does not confer accuracy independently of my casting technique.
I match total payload before comparing distance
A jighead’s stamped weight is not necessarily the weight I cast. I include the plastic, hook and other attached components. With a cork rig, I also account for the assembled payload and its awkward aerodynamics.
The example product pair later in this guide has a published 3/8–3/4-ounce lure range. Here is how I would screen a test across the requested 1/8–1-ounce span.
| Total casting payload | Approximate grams | Suitable for this particular comparison pair? | Distance difference |
|---|---|---|---|
| 1/8 oz | 3.54 g | Below published range | Not measured |
| 1/4 oz | 7.09 g | Below published range | Not measured |
| 3/8 oz | 10.63 g | Within published range | Not measured |
| 1/2 oz | 14.17 g | Within published range | Not measured |
| 3/4 oz | 21.26 g | At published upper boundary | Not measured |
| 1 oz | 28.35 g | Above published range | Not measured |
I would select a suitably rated pair for lighter or heavier payloads. I would not overload these rods to finish a chart, or draw a rising casting-distance curve from unmeasured values.
My comparison protocol
I would make 20 valid casts per rod at each appropriate payload, alternating rods in short blocks to reduce wind and learning effects. I would keep the reel, spool fill, braid, leader, knot and lure constant, and record the conditions.
My results sheet would separate:
- Distance: median distance and spread, not just the longest cast.
- Accuracy: distance from a marked target and the proportion landing inside it.
- Clearance: contact with an overhead or side obstruction.
- Effort: a consistent self-reported score after equal casting blocks.
- Problems: wind knots, leader strikes and failed releases, retained in the notes.
If I change reel weight while changing rod length, I change two variables. I use the saltwater spinning reel guide to narrow the reel choice, then keep that reel constant for the comparison.
Does the longer rod recover more line on a distant strike?
I can move the tip farther through the same hand rotation with a longer working radius, but that is not the same as recovering an equal amount of slack. Actual line pickup depends on the direction of the sweep, line belly, rod bend, reel movement and whether the fish moves toward me.
I picture a redfish bite at a target 100 feet from my hand. To isolate geometry, I freeze the target, hold my hand stationary, point an unbent rod toward it, and rotate the rod through 60 degrees. I assume a perfectly straight line from tip to target.
With the 72-inch working radius, that straight path lengthens by 37.67 inches. With the 78-inch radius, it lengthens by 40.96 inches. The calculated difference is 3.29 inches.
That differs from the 6.28-inch difference between the two tip arcs. The tip travels around a circle, while the line spans directly from tip to target. I cannot substitute one measurement for the other.
My calculation uses:
Added path = √(D² + r² − 2Dr cos θ) − (D − r)
Here, D is 1,200 inches, r is 72 or 78 inches, and θ is 60 degrees. This is an original geometric example, not a measured redfish hookset.
On the water, a bow in the braid can absorb movement before tension reaches the lure. I first recover manageable slack, then use a controlled motion appropriate to the hook and presentation. I do not expect six inches of rod to fix a large line belly.
Tip travel is not line pickup.
I rotate two ideal rigid rods through the same angle. The tip follows an arc; the line spans a straight path to a fixed target. Those distances are different.
My hand stays fixed, the target is 100 ft away, and both rods begin pointed toward it.
01 / The path of the tip
I read horizontal and vertical distances from the hand. The curved traces show the tip paths, not casting trajectories.
02 / Added straight line path
The target is fixed at 1,200 inches from my hand. The bars show the increase in the straight distance between rod tip and target.
At 60°, I calculate 3.29 inches more straight line-path change with the longer radius. This is not a measured hookset or recovered slack.
| Measure | 7 ft | 7 ft 6 in |
|---|---|---|
| Working radius | 72 in | 78 in |
| Tip arc | 75.40 in | 81.68 in |
| Added line path | 37.67 in | 40.96 in |
How I calculate these values
I set r to 72 or 78 inches, D to 1,200 inches and θ to the selected angle converted to radians.
Tip arc = r × θ
Added line path = √(D² + r² − 2Dr cos θ) − (D − r)
I assume no rod bend, line belly, reel pickup or fish movement. These omissions make this a geometry demonstration, not a prediction of fishing performance.
03 / Mass farther from my hand
I keep one component at 1 gram and move it farther from the pivot. Doubling its distance multiplies its inertia contribution by four.
04 / Leverage under a tip force
For an ideal perpendicular 10 N tip force, I calculate 18.29 N·m at 72 inches and 19.81 N·m at 78 inches. The larger moment is more for my hand to resist.
A real rod bends and takes load through multiple guides. This does not establish hook penetration or lifting capacity.
Inertia data, units and model limits
| Distance (m) | I (kg·m²) |
|---|---|
| 0.5 | 0.00025 |
| 1.0 | 0.00100 |
| 1.5 | 0.00225 |
| 2.0 | 0.00400 |
I = mr²; m = 0.001 kg
τ = rF sin φ; φ = 90° for the example
I do not interpret this curve as a fatigue score. Whole-rod mass distribution, grip, reel weight and the person holding the outfit also matter.
I buy extra length for a useful movement. I do not buy it as a promise of extra casting yards or stronger hooksets.
Which length feels lighter and controls a fish better?
I cannot judge working weight from rod length or scale weight alone. Mass farther from my hand contributes more to rotational inertia, while grip location changes static balance. Under load, a longer effective lever can increase the moment I resist. I compare assembled outfits and choose suitable power before expecting length to provide fish control.
Swing weight is not a fatigue score
In the elementary point-mass model, rotational inertia equals mass × distance squared. Moving the same component 10% farther from my hand increases that component’s inertia contribution by 21%. It does not increase the entire rod’s inertia or my fatigue by 21%.
I care about that distinction during repeated topwater strokes. A small mass near the tip can matter disproportionately when I accelerate and stop the rod. A heavier reel can bring the static balance point toward my hand, yet still add total mass. A balanced outfit is not automatically the easiest outfit to move repeatedly.
I would compare both rods with my reel attached, then repeat the intended motion for equal periods. I would record discomfort, grip pressure and whether I start compensating with my shoulder. I would not publish a minutes-to-fatigue curve without that test.
Fish control starts with the whole outfit
When a snook turns toward a piling, I want appropriate blank power, dependable knots, suitable leader and controlled drag. The longer rod may help me reposition the line around an obstruction, but additional reach does not establish higher lifting capacity.
The 10-newton example in my table produces 8.33% more torque with the longer working radius. That represents a larger moment to resist in that simplified arrangement, not 8.33% more force at the hook.
I would need hook geometry, point condition, contact angle and tissue resistance to predict penetration. Rod length alone supplies none of those measurements. I therefore show the direction of line tension rather than inventing a hook-penetration force graph.
How does length affect topwaters, popping corks and dock skipping?
I choose the length that lets me repeat the lure’s working motion without striking the water, my clothing or nearby structure. A shorter rod can simplify downward strokes and tight skipping paths. A longer rod can add reach for line management, provided its rear grip and tip remain clear throughout the movement.
Walking a topwater
From a low seat or low deck, I start with the 7-footer. I want short downward pulses without dipping the tip into the water or driving the butt into my forearm. My height and grip position matter, so I check the actual working angle instead of prescribing one wrist angle for everyone.
Working a popping cork
I consider the 7-foot-6 rod when the longer rig and line position benefit from reach. I use short, deliberate pops with recovery between them. I distinguish a raised tip during an unloaded lure movement from an extreme bend under fish load.
I avoid folding the tip back during the fight or lifting a fish aboard with the rod. Connley Fishing’s explanation of high sticking describes why concentrating load in the upper section can break a blank.
Skipping beneath a dock
I check the whole low sidearm path: backswing, forward stroke and follow-through. My release point must keep the lure low while the blank clears the dock. I practice with a hookless plug in open space before introducing pilings, cables and boat-lift hardware.
I check the whole stroke.
Before choosing a length, I rehearse the movement with a hookless setup in clear space. These sketches identify clearance checks; they do not prescribe universal angles.
Walking a topwater
- Set my positionI use my normal deck or seated height and grip.
- Make a short pulseI keep the tip clear of the water and the butt clear of my forearm.
- Recover and repeatI check whether I can repeat the stroke without changing posture to make room.
Working a popping cork
- Check the complete rigI include cork, leader, hook and lure when I assess clearance and casting payload.
- Pop with controlI use a deliberate movement, then recover manageable slack.
- Separate lure work from fish loadI do not copy an unloaded rod angle during a loaded fight or lift a fish aboard with the rod.
Skipping beneath a dock
- Trace the backswingI check the T-top, branches and hardware behind me.
- Check the low release pathI rehearse a sidearm stroke with a hookless plug before working around structure.
- Follow through freelyI check pilings, cables and the overhead opening through the entire movement.
Is a 7-foot or 7’6 rod better for a kayak, boat or vehicle?
I choose by usable clearance rather than the platform’s name. In a kayak, I check bow reach and seated handle interference. On a boat, I check rails and overhead structure. For transport, I measure the actual insertion route, locker opening and straight internal space with the reel and protective sleeve included.
My kayak check begins in the seat
With a hookless setup, I remain in my normal seated position and move the rod from one side of the bow to the other. I check the fish finder, holders, paddle, net and front hatch. Extra reach can help, but a long rear grip can catch clothing or press into the seat.
I also check whether I can bring the leader within comfortable reach for landing. A rod that clears the bow but makes landing awkward has only solved half the problem. I work through the broader layout in the complete saltwater kayak setup guide.
My boat check includes the casting station
I measure clearance where I actually cast, including the T-top edge and rails. The small center-console guide helps frame deck-layout choices, but a boat’s overall length cannot tell me whether a particular rod clears its overhead structure.
My storage check uses internal dimensions
| Example straight usable space | 84-inch rod | 90-inch rod | My next check |
|---|---|---|---|
| 88-inch locker | 4 in nominal spare | 2 in too long | Opening and guide clearance |
| 92-inch locker | 8 in nominal spare | 2 in nominal spare | Padding and insertion angle |
| Empty 72 × 48-inch plane | 86.53-inch diagonal | Longer than diagonal | Actual three-dimensional route |
| Empty 84 × 36-inch plane | 91.39-inch diagonal | 1.39 in nominal spare | Seats, trim, reel and door opening |
The diagonal is only a geometric screen. I do not bend a one-piece rod against vehicle trim to make it fit, and I do not count the locker’s advertised exterior dimension as usable internal length.
The opening matters as much as the length.
I measure usable internal space, then check the route into it. A positive number below is only nominal spare length; it does not guarantee that guides, reel or padding will pass.
An 88-inch straight locker leaves 4 inches for the 84-inch rod. The 90-inch rod exceeds that length by 2 inches.
| Length check | Inches |
|---|---|
| Usable straight span | 88.00 |
| 7-foot rod | 84.00 |
| 7-foot-6 rod | 90.00 |
A diagonal is a first screen
I calculate √(72² + 48²) = 86.53 in. The shorter rod is below that diagonal; the longer one exceeds it. Seats, trim and the door opening can still prevent insertion.
My seated kayak check
I keep my normal seated posture, check the sweep past the bow, then check the rear grip against my body and seat. I also check whether I can reach the leader for landing.
Example dimensions and the checks I still need
| Space | 7 ft spare | 7 ft 6 in spare |
|---|---|---|
| 88 in straight | 4.00 in | −2.00 in |
| 92 in straight | 8.00 in | 2.00 in |
| 72 × 48 in plane | 2.53 in | −3.47 in |
| 84 × 36 in plane | 7.39 in | 1.39 in |
Negative values mean the rod is longer than the calculated span. Positive values exclude padding and every obstruction. I check the locker opening, guide height, reel clearance and the actual insertion angle without bending the rod to force a fit.
Straight spare = usable length − rod length
Plane spare = √(length² + width²) − rod lengthWhich comparable 7-foot and 7’6 rods would I shortlist?
I would shortlist the St. Croix Avid Inshore ASIS70MF and ASIS76MF for a same-series comparison. Their published power, action, line and lure ratings match, but their handle codes differ. That makes them useful shopping candidates, not a controlled experiment in length alone. I would handle both with my own reel before choosing.
St. Croix Avid Inshore ASIS70MF: my shorter candidate
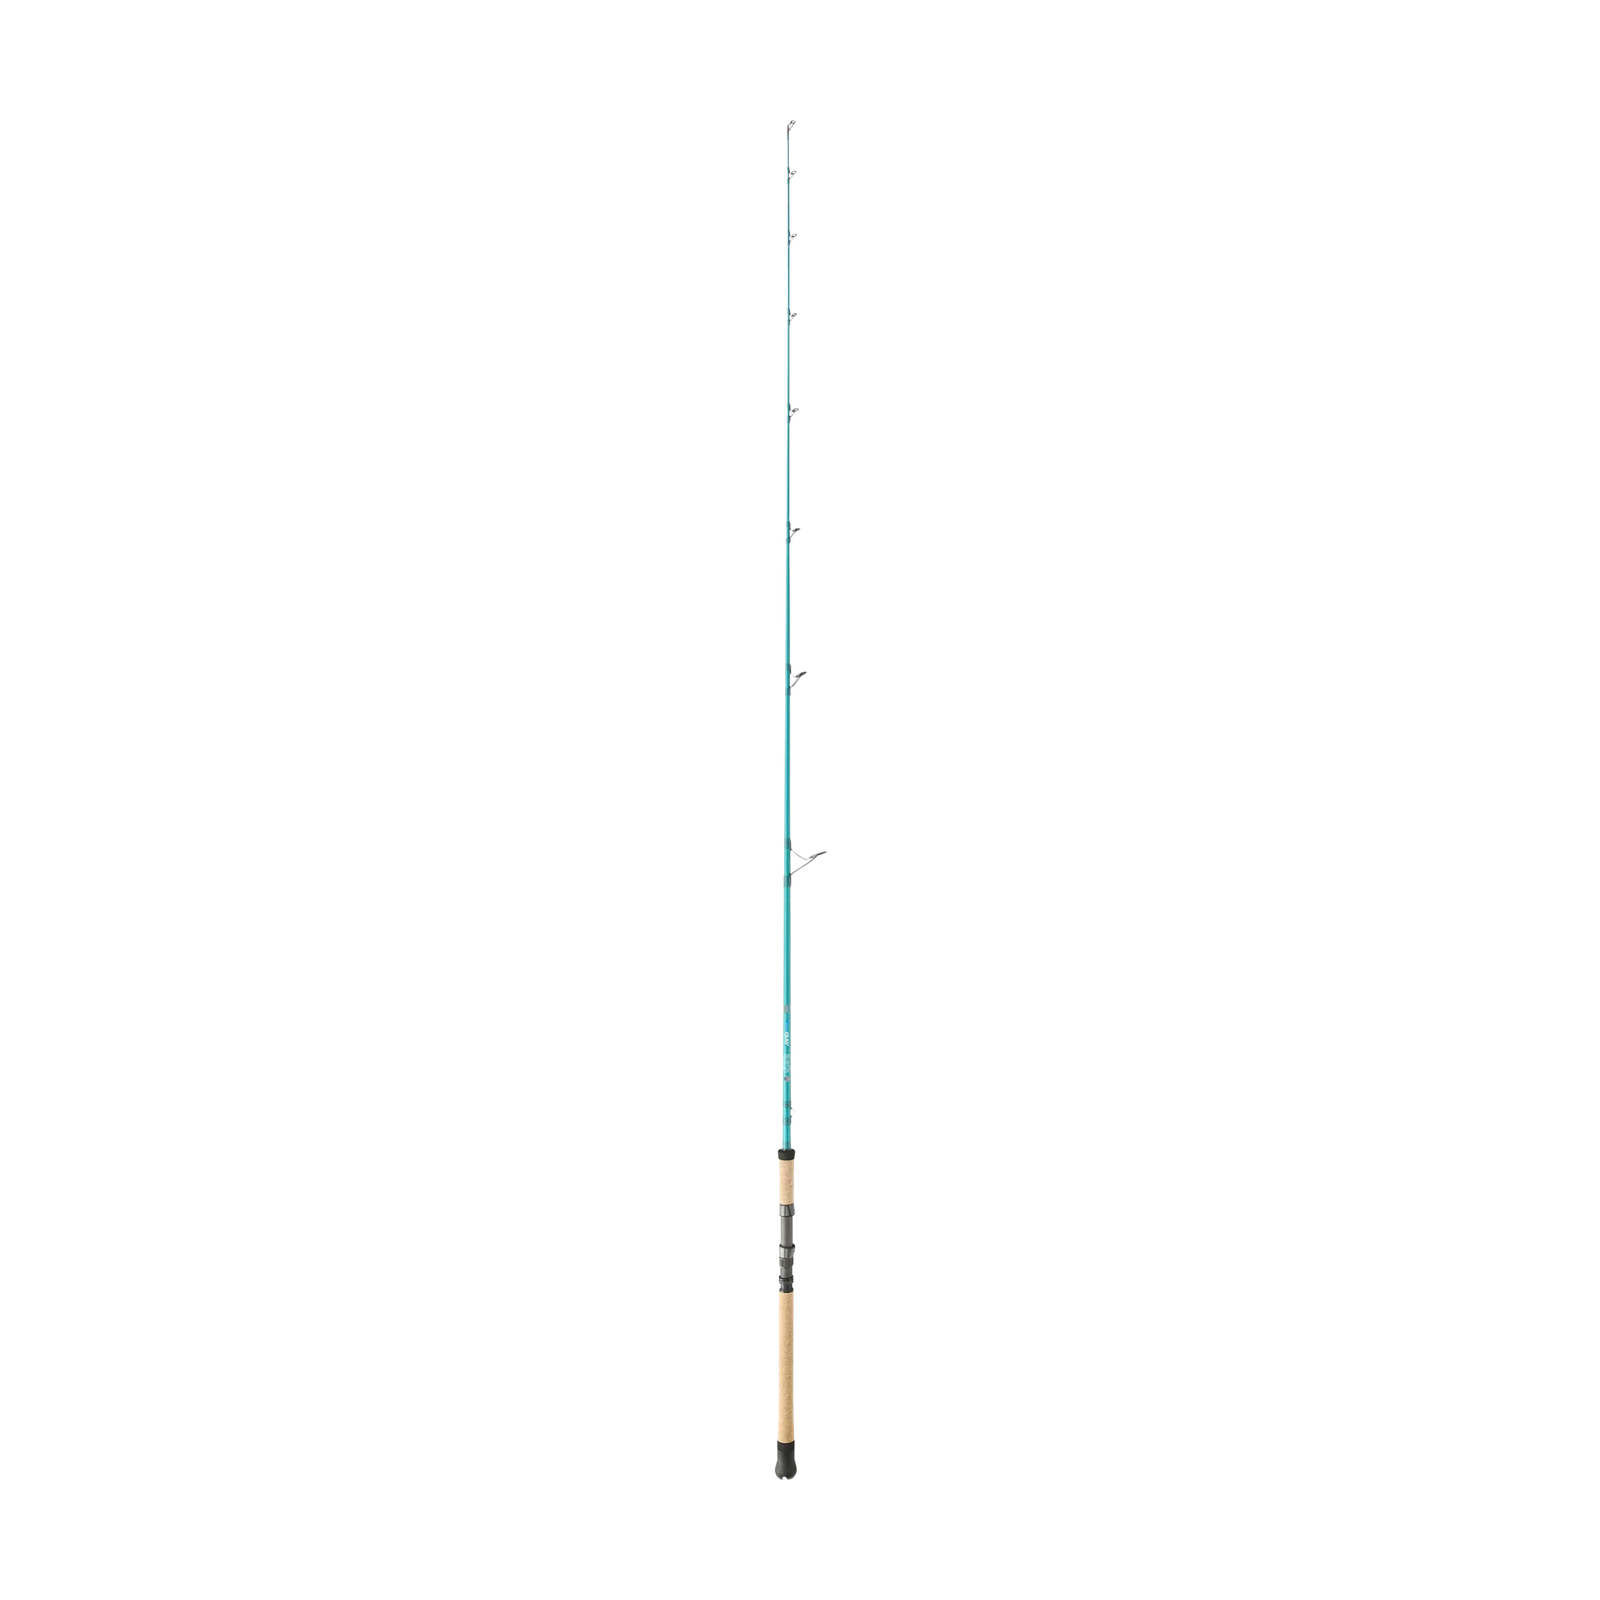
I would try this candidate first for a restricted casting station. My approval would depend on butt clearance during a downward stroke and a low sidearm cast.
- Reason to try it: the shorter overall package suits my clearance-first decision.
- Tradeoff: less nominal reach than the longer candidate.
- My fit check: reel attached, normal grip, full casting motion.
St. Croix Avid Inshore ASIS76MF: my longer candidate
I would try this candidate first for open casting room and useful reach. I would reject it if its handle interfered with my seated position or its working weight made lure control uncomfortable.
- Reason to try it: extra overall length for my open-water comparison.
- Tradeoff: tighter storage and clearance requirements.
- My fit check: actual hand-to-tip reach and repeated lure strokes.
| Published specification | ASIS70MF | ASIS76MF |
|---|---|---|
| Length | 7 feet | 7 feet 6 inches |
| Power / action | Medium / fast | Medium / fast |
| Line rating | 8–17 lb | 8–17 lb |
| Lure rating | 3/8–3/4 oz | 3/8–3/4 oz |
| Sections | One | One |
| Handle code | 2 | 4 |
I checked these specifications against St. Croix’s current model table on October 13, 2026. I have not verified SKU-specific swing weight or measured either rod’s casting performance. The buttons open model searches, not confirmed Amazon offers or stock. No affiliate tracking has been added.
What would I check before paying for either length?
I attach my intended reel, measure both sides of my grip and repeat the movements I will use most. Then I verify the total lure rating, guide clearance and transport route. I prefer the rod that passes those practical checks over one that promises more distance solely because its blank is longer.
My final inspection is simple:
- Grip: I measure butt-to-hand and hand-to-tip distances separately.
- Movement: I rehearse a topwater stroke, sidearm cast and seated sweep.
- Payload: I weigh the complete lure or rig, not just the jighead.
- Guides: I check alignment and clear passage of my actual leader connection.
- Storage: I test the opening and insertion route as well as internal length.
- Comparison: I record the same reel, line and payload before judging either rod.
For a custom build, I would not stretch every guide spacing proportionally from a 7-foot blank to a 7-foot-6 blank. I use a starting layout, then check the actual reel, line path and loaded blank. Anglers Resource’s guide-spacing guidance supports checking a provisional arrangement through static loading and casting before permanent installation.
My answers to the remaining length questions
Would I choose 7’6 for every redfish outfit?
No. I would start there for open water if the outfit fits my lure and grip. Beside docks or beneath branches, I may prefer 7 feet. Species alone does not define the casting space or loading requirements.
Would I use heavier braid because the rod is longer?
I would choose braid and leader for the outfit, cover and intended presentation. I would not increase line size solely because the rod gains six inches.
Would I buy a 7’3 rod as a compromise?
I would consider it, but I would repeat the same grip and fit checks. An intermediate overall length does not guarantee an intermediate handle, action or working weight.
Which length would I buy if I could own only one?
I would buy 7 feet if restricted casts and transport dominate my fishing. I would buy 7 feet 6 inches if most of my casts have open room and the longer outfit remains comfortable. My deciding test is whether the extra length improves a movement I actually need.