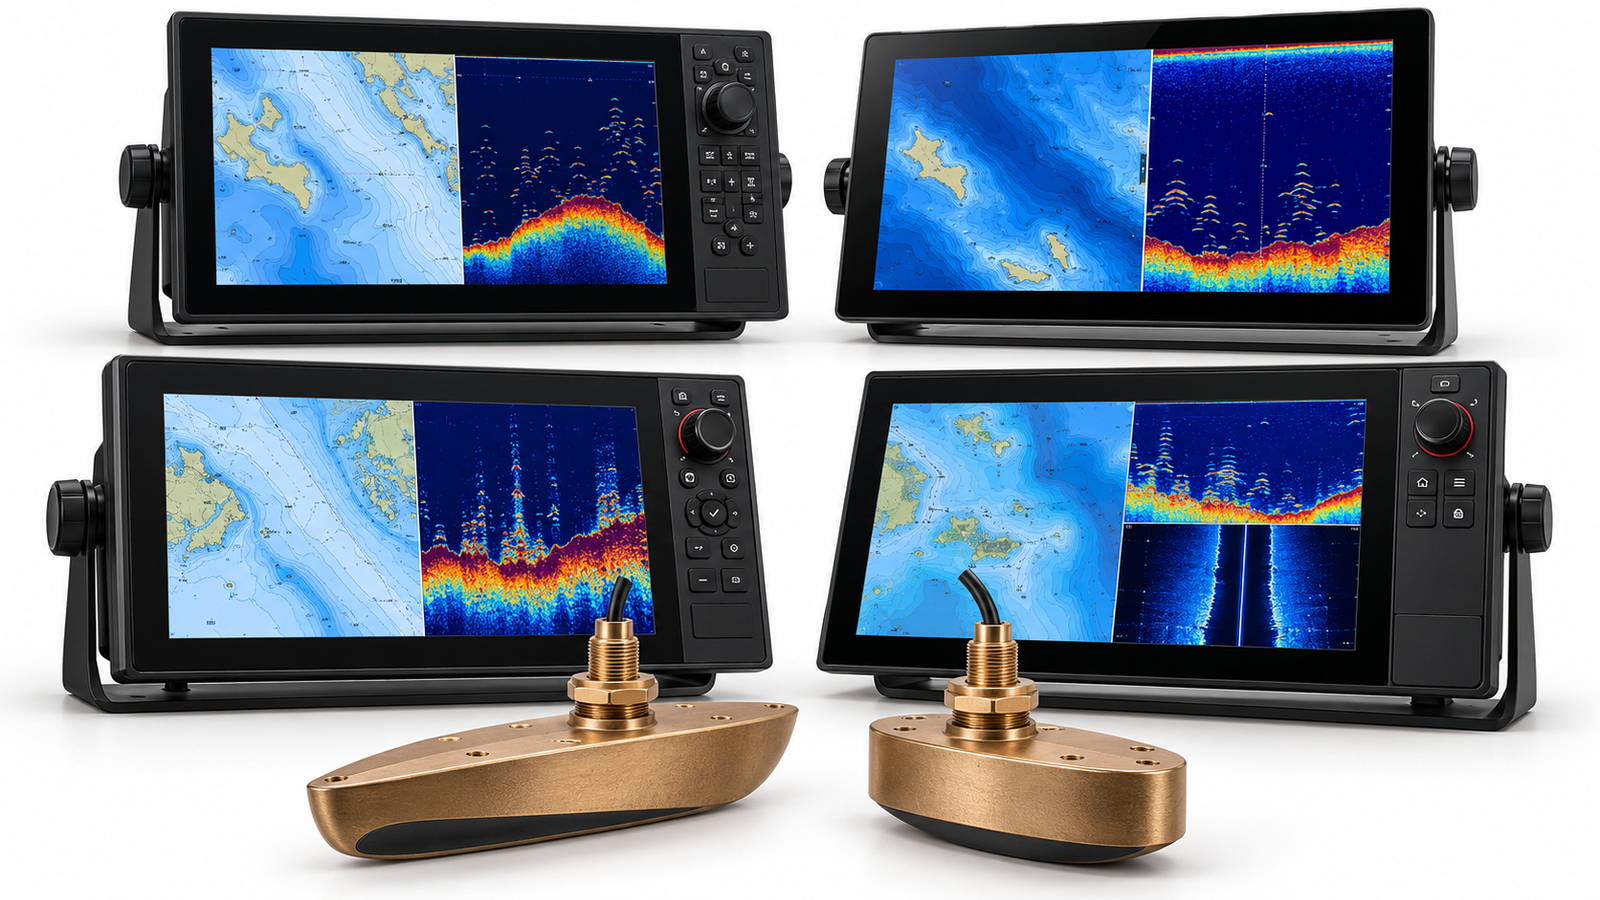
The best fish finder for tuna fishing starts with the fish’s depth, the search pattern and the transducer. I want broad coverage when I am looking for scattered bait. When I stop over marks to jig, I need to understand how much water each return represents. A bigger screen alone does not answer either question.
My reference trip was aboard a 28-foot twin-outboard center console in the San Clemente Basin. A Furuno TZT12F and Airmar B175H helped turn empty-looking surface water into a 95-pound bluefin. That account informs my priorities here; it does not establish a winner among every current electronics brand.
What is the best fish finder for tuna fishing?
I would start with a compatible 1 kW CHIRP system and a transducer chosen for my fishing method. For broad upper-water searches, I would investigate high-wide CHIRP first. For regular deeper work, I would compare medium or dual-band alternatives. I would price the complete installation before choosing the display.
Evidence and shopping disclosure: I distinguish my supplied field observations from manufacturer specifications and editorial recommendations. I have not conducted a matched sea trial of all four systems. Product images below are generated illustrations. Amazon buttons open searches; they are not verified bundles or tagged affiliate offers.
Best Tuna Sonar Setups at a Glance
| Route | Starting configuration | Best fit | Avoid or verify |
|---|---|---|---|
| Furuno TZT13X | Built-in 1 kW TruEcho CHIRP; supported Airmar route | My first route to investigate within the Furuno ecosystem | Exact transducer suffix, connector and simultaneous-band operation |
| Garmin GPSMAP 9013xsv | Built-in 1 kW CHIRP; approved transducer | A boat retaining Garmin charts, radar or network equipment | The current manual specifies single-channel CHIRP; do not assume two independent channels |
| Simrad NSS 4, sonar-equipped 12-inch variant | Built-in dual-channel 1 kW CHIRP | A documented dual-band installation | Confirm regional SKU, transducer pinout and adapters |
| Raymarine Axiom 2 Pro 12 RVM | Built-in 1 kW CHIRP plus RVM functions | A Raymarine-equipped helm | RVM and S variants differ; exact transducer route remains essential |
| Keep the existing display | Audit sounder, transducer and installation | A capable display with poor water flow or unsuitable coverage | Do not buy a new transducer before checking compatibility |
My buying rule
Choose around target depth, then decide whether reading bottom is also required. A maximum-depth specification is not a promise of useful tuna detection at that depth.
How I Built This Guide
I use the supplied trip account for the Furuno TZT12F/B175H fishing example and the reported Garmin 8616xsv/B175HW comparison. Current system routes come from manufacturer documentation. I treat prices from the owner’s budget as estimates, not dealer quotations. No installer review, current-stock check or matched comparison is claimed.
Do I Need to See the Bottom to Find Tuna?
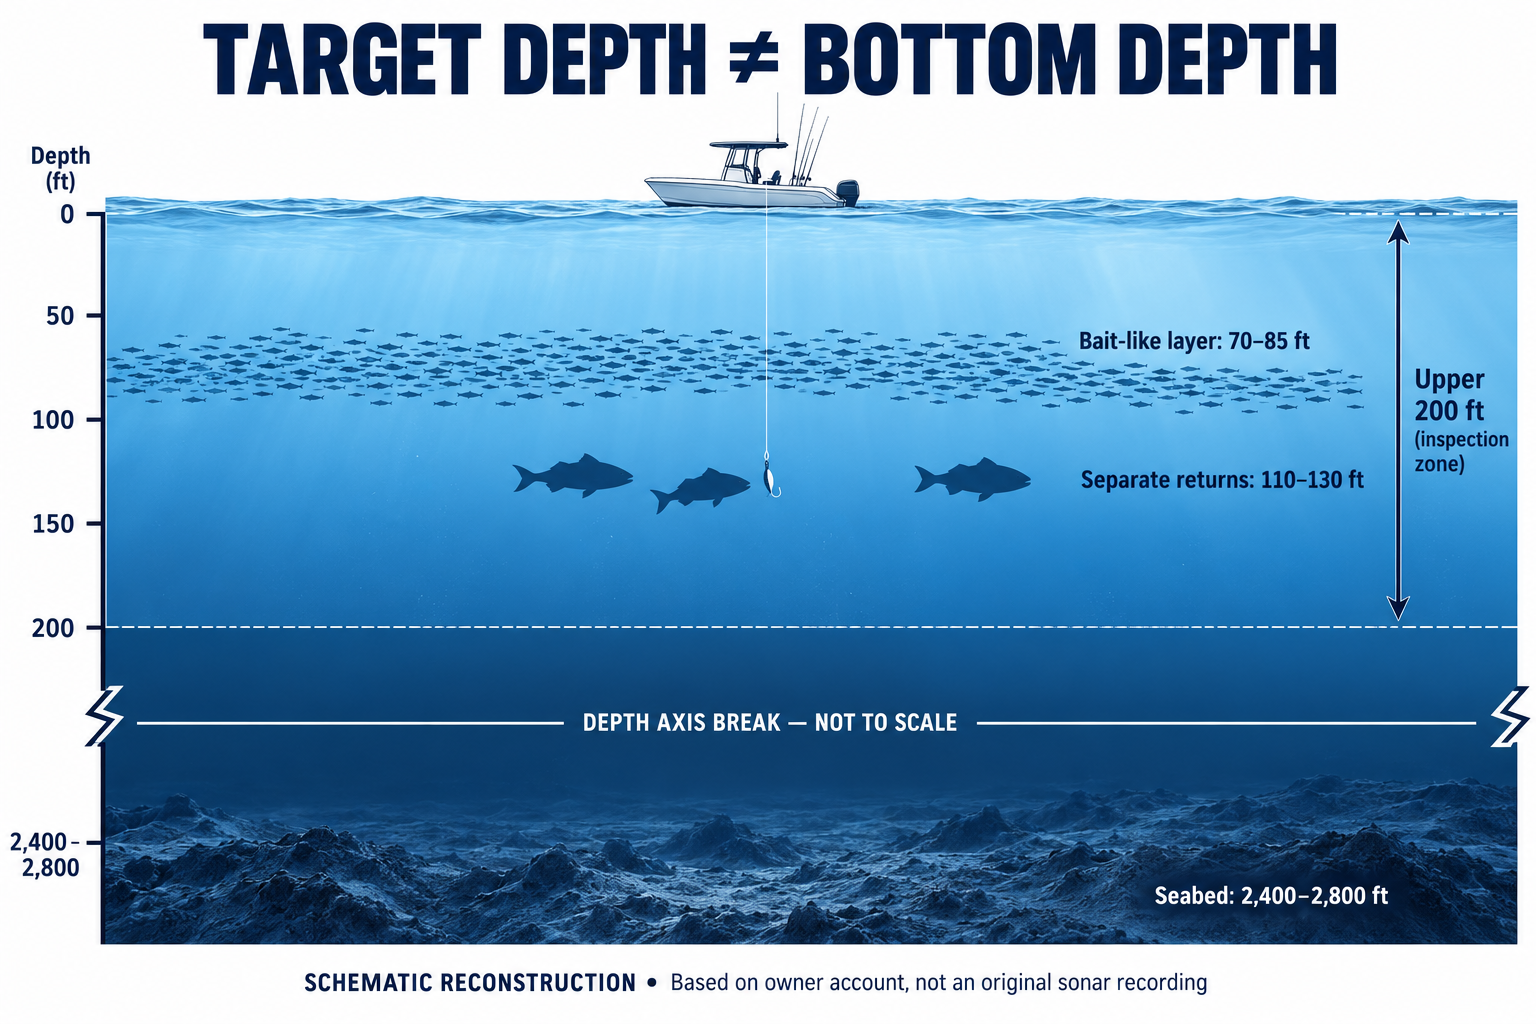
I do not need a bottom return to investigate suspended bait and fish in the upper water column. I choose the sonar range around those targets, then assess bottom-reading needs separately. Searching at 120 feet above a 2,500-foot seabed is a different job from resolving fish beside that seabed.
Searching for bait and suspended fish
Off San Clemente, the bottom was roughly 2,400–2,800 feet (730–850 meters). The useful returns were much shallower: a bait-like layer at 70–85 feet and heavier individual marks around 110–130 feet. I did not need to follow the seabed to decide to stop.
For blind trolling, I favor investigating wider coverage. For a jig drop, I care about the footprint at the marked depth. Neither conventional beam tells me whether a fish is to port or starboard.
Investigating deeper marks
I would move beyond an upper-water-only buying decision if deeper bait or repeated deeper targets were part of my normal fishing. I would compare the actual bands, beam angles and supported sounder, rather than assuming the word “medium” guarantees a result. My supporting guide to transducers for 200–600 feet covers that component decision.
Combining tuna fishing with deep-bottom fishing
I would specify both jobs to the installer. A low/high-wide combination can address different requirements, but the sounder must support the intended bands and operation. For seabed-focused work, I would use the complete deep-drop sonar guide and deeper-water transducer options.
Upgrading electronics I already own
Before replacing a display, I would record its exact model, firmware, sounder module, transducer part number and connector. I would test whether the poor returns follow speed, heading, another electrical device or a filter adjustment. Those observations can point to an installation problem that a new screen will not solve.
Compare the Complete Systems
These are buying routes to investigate, not installer-approved bundles. A product-family name is insufficient evidence of compatibility. I would obtain written confirmation of the exact transducer, connection hardware and channel behavior before placing an order.
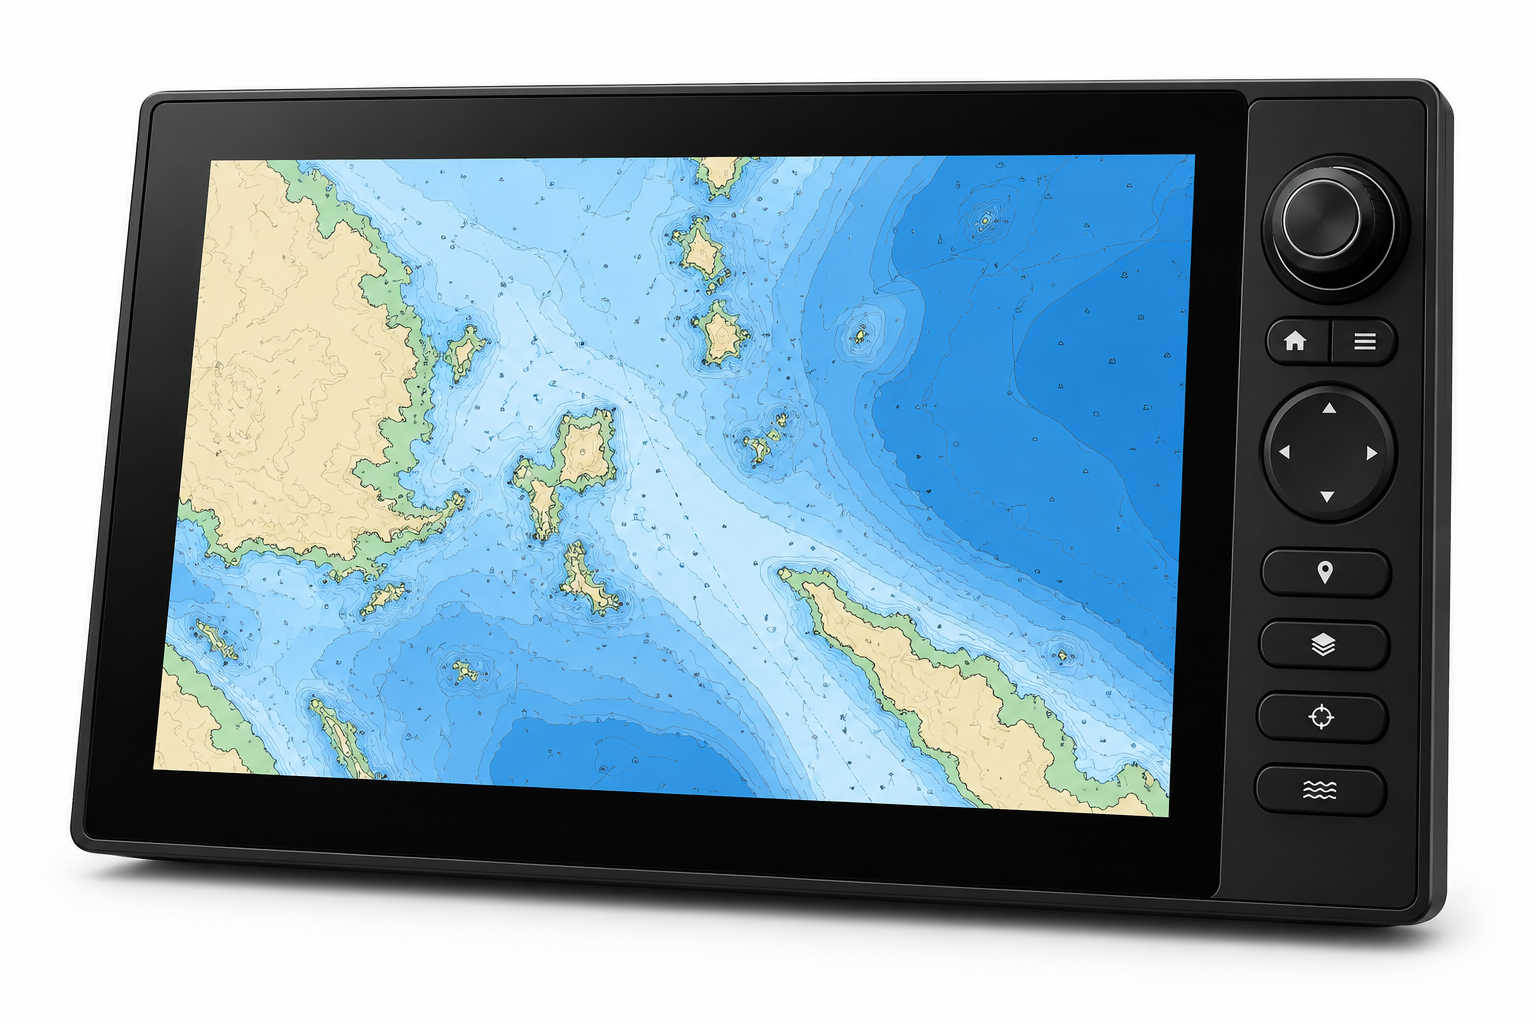
Furuno TZtouchXL TZT13X: My Furuno Upgrade Route
Check Price on Amazon
Marketplace search, not a verified package. Confirm the exact model, transducer and included accessories.
I would investigate this route first when retaining Furuno radar and network equipment. My field experience was with the older TZT12F, so I do not transfer its reported performance to the TZT13X.
| Component | Purchase requirement |
|---|---|
| Display | Furuno TZT13X |
| Sonar source | Built-in 1 kW TruEcho CHIRP or CW sonar |
| Transducer route | A supported high-wide route for searching; an approved medium or low/high-wide alternative for mixed work |
| Required extras | Exact connector/adapters, cables, mounting hardware, power protection and commissioning |
| Price basis | Request a dated component-level quotation; no current complete-package price is verified |
| Evidence | Manufacturer documentation plus editorial recommendation; not a matched sea trial |
Best fit and limitation
I would skip a display replacement if my existing Furuno already supports the required sounder and transducer. Two B175 housings and a generic Y-cable do not establish an approved dual-channel installation.
Compatibility reference: Furuno TZtouchXL transducer compatibility document. I would ask the installer to mark the approved configuration on the quotation.
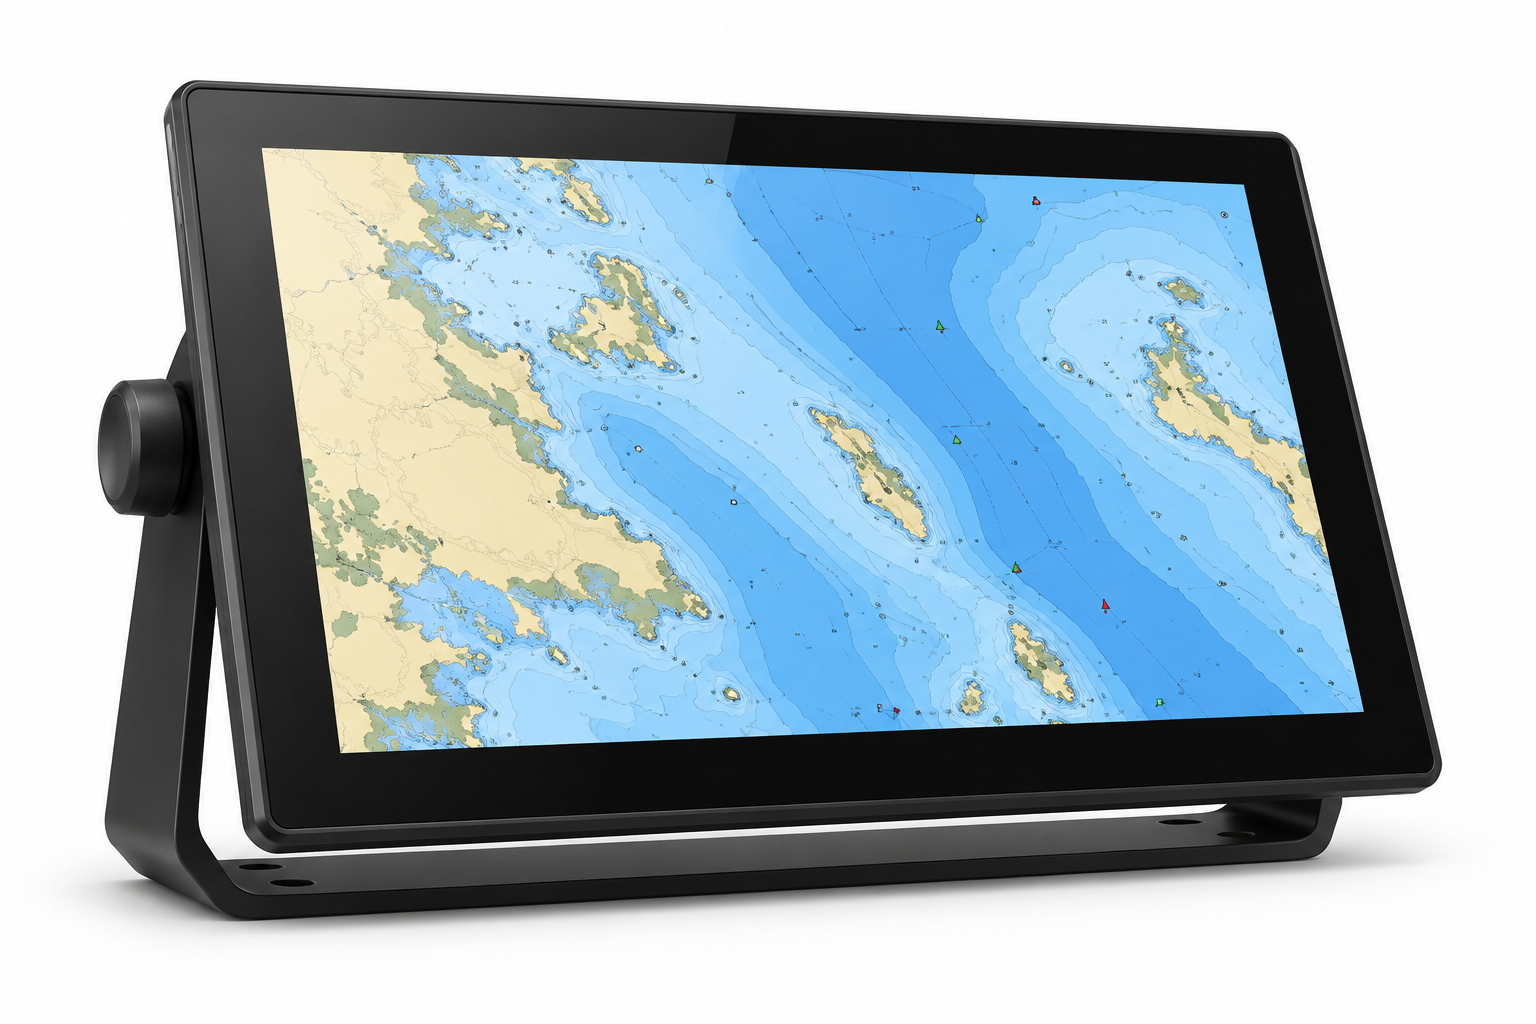
Garmin GPSMAP 9013xsv: The Garmin Ecosystem Route
Check Price on Amazon
Marketplace search, not a verified package. Confirm the exact model, transducer and included accessories.
I would consider this route when the existing radar, charts and helm equipment make Garmin the practical choice. The older 8616xsv/B175HW account illustrates coverage tradeoffs; it does not prove the 9013xsv outperforms another brand.
| Component | Purchase requirement |
|---|---|
| Display | Garmin GPSMAP 9013xsv |
| Sonar source | Built-in 1 kW, single-channel CHIRP as specified in the current manual |
| Transducer route | A manufacturer-approved high-wide transducer for upper-water searching |
| Required extras | Exact connector/adapters, cables, mounting hardware, power protection and commissioning |
| Price basis | Request a dated component-level quotation; no current complete-package price is verified |
| Evidence | Manufacturer documentation plus editorial recommendation; not a matched sea trial |
Best fit and limitation
I would not order it expecting two independent built-in CHIRP channels. Any external-module plan requires its own compatibility check and cost.
Compatibility reference: Garmin current sonar specifications. I would ask the installer to mark the approved configuration on the quotation.
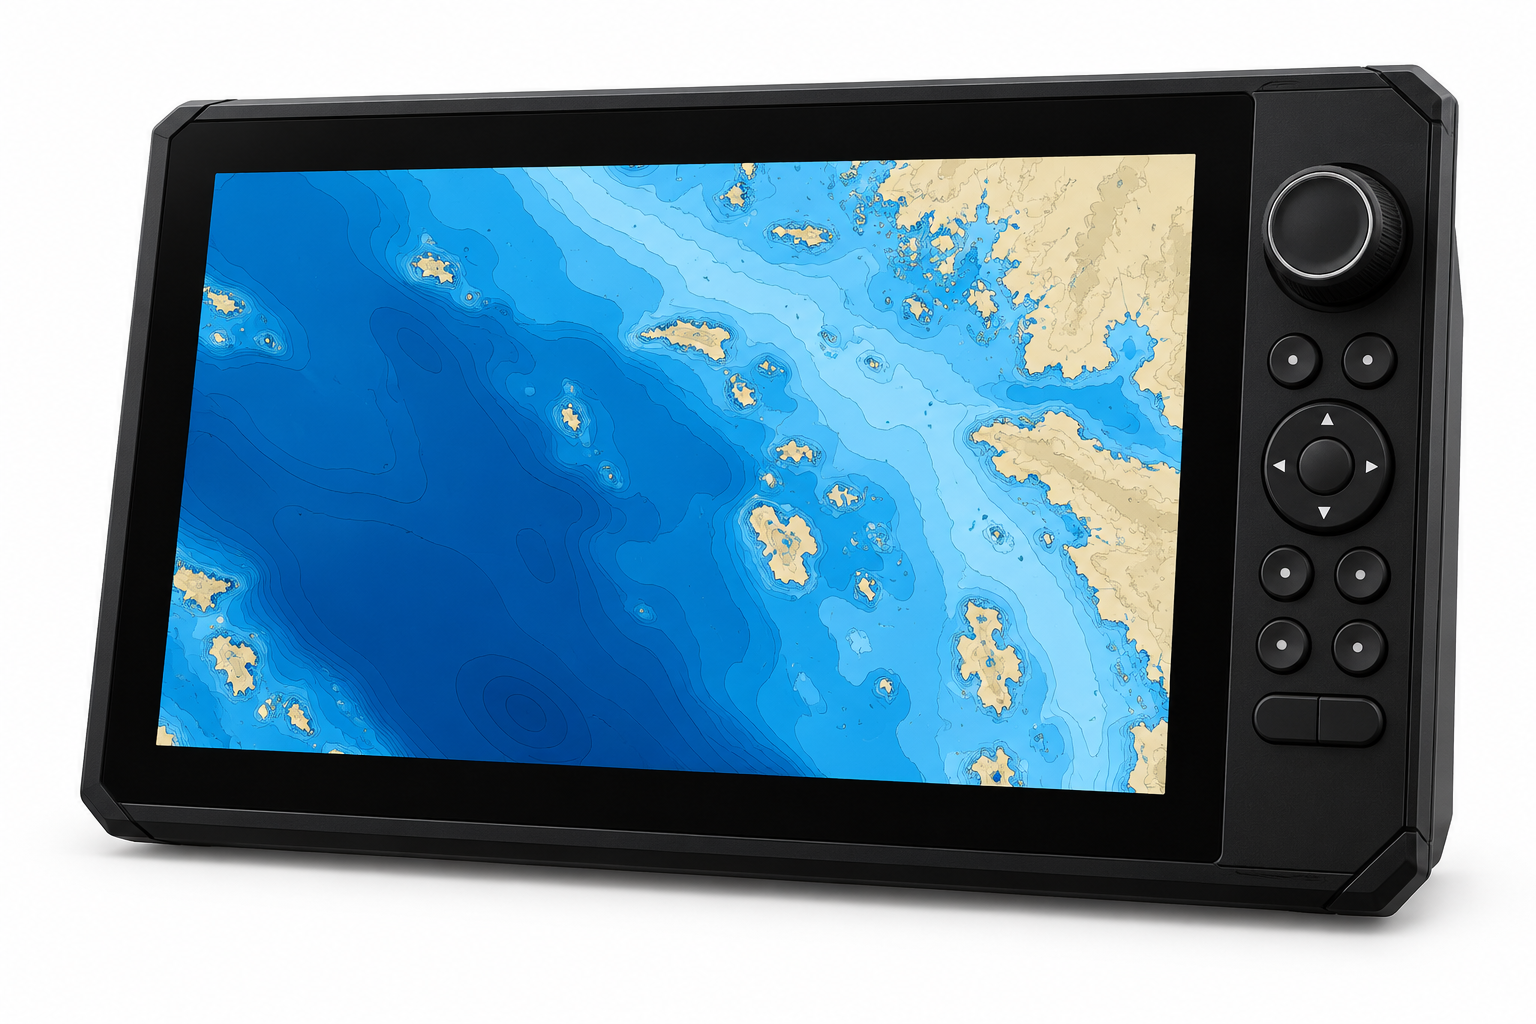
Simrad NSS 4: A Dual-Channel Route to Verify
Check Price on Amazon
Marketplace search, not a verified package. Confirm the exact model, transducer and included accessories.
I would investigate this route when two-band operation is central to the purchase. I would have the dealer identify the exact regional display variant and document which bands can operate together.
| Component | Purchase requirement |
|---|---|
| Display | Simrad NSS 4 12 inch |
| Sonar source | Built-in dual-channel 1 kW CHIRP on the sonar-equipped variant |
| Transducer route | An explicitly approved dual-band transducer or approved paired arrangement |
| Required extras | Exact connector/adapters, cables, mounting hardware, power protection and commissioning |
| Price basis | Request a dated component-level quotation; no current complete-package price is verified |
| Evidence | Manufacturer documentation plus editorial recommendation; not a matched sea trial |
Best fit and limitation
I would skip an undocumented package assembled from matching-looking connectors. Dual-channel capability alone does not verify a particular pair of Airmar elements.
Compatibility reference: Simrad NSS 4 specifications. I would ask the installer to mark the approved configuration on the quotation.
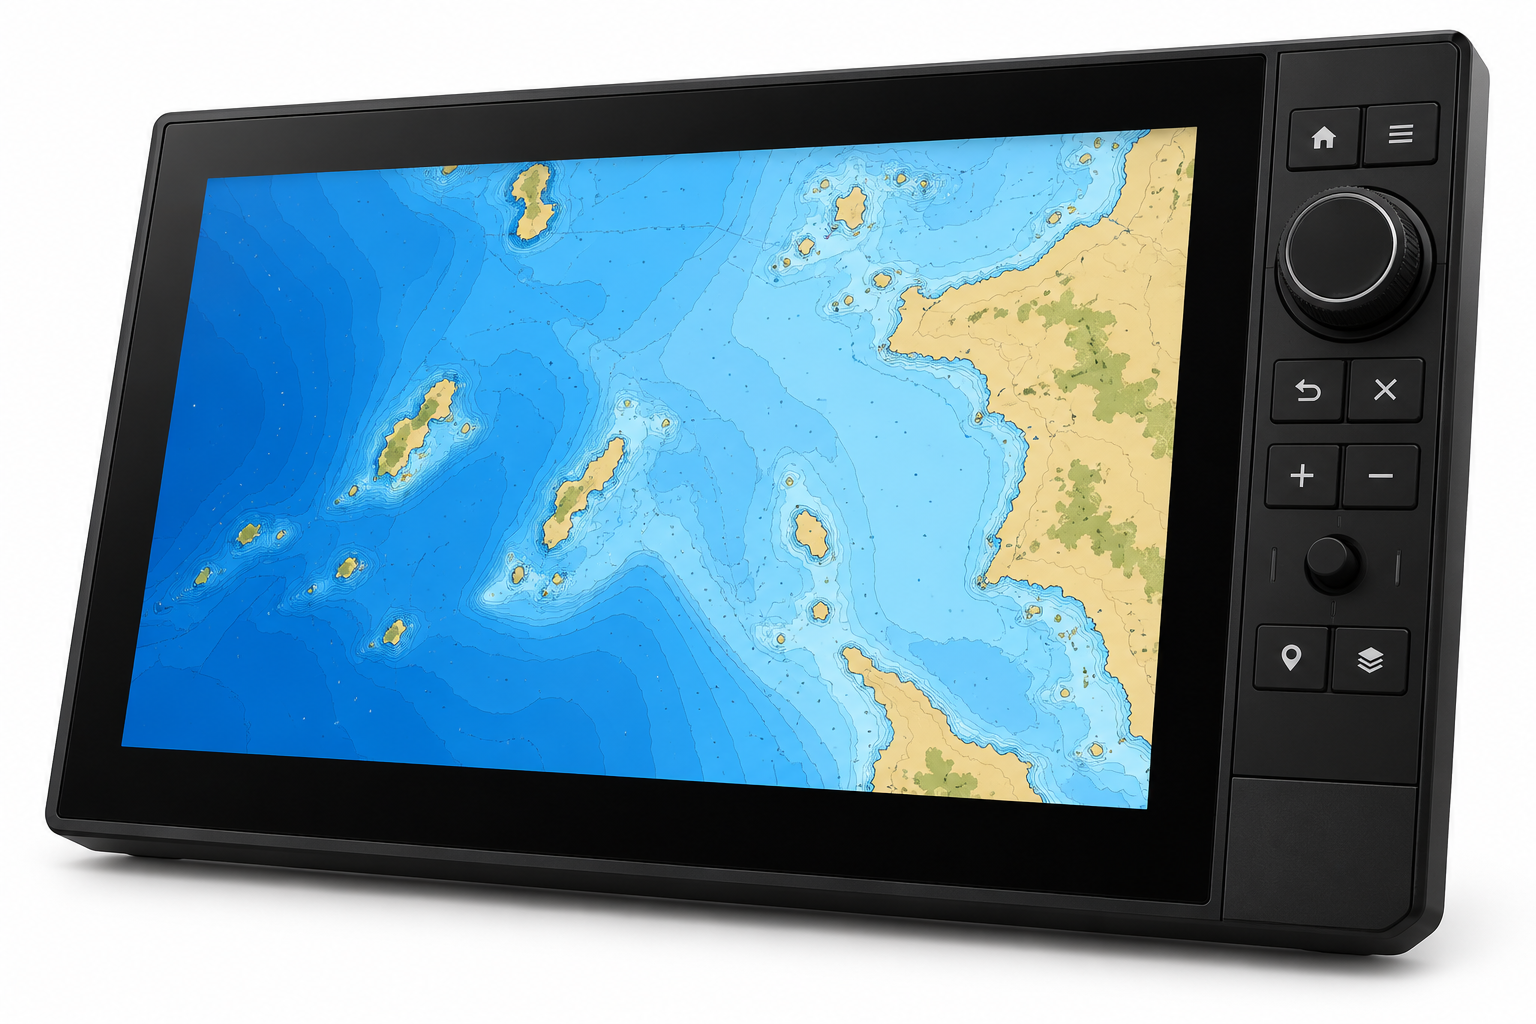
Raymarine Axiom 2 Pro 12 RVM: The Raymarine Route
Check Price on Amazon
Marketplace search, not a verified package. Confirm the exact model, transducer and included accessories.
I would consider this route for a Raymarine-equipped boat where conventional CHIRP and compatible scanning functions serve separate jobs. I would price each transducer rather than assuming scanning capability supplies the offshore CHIRP installation.
| Component | Purchase requirement |
|---|---|
| Display | Raymarine Axiom 2 Pro 12 RVM |
| Sonar source | Built-in 1 kW CHIRP in the RVM version |
| Transducer route | A transducer and connection route listed for Axiom 2 Pro RVM |
| Required extras | Exact connector/adapters, cables, mounting hardware, power protection and commissioning |
| Price basis | Request a dated component-level quotation; no current complete-package price is verified |
| Evidence | Manufacturer documentation plus editorial recommendation; not a matched sea trial |
Best fit and limitation
I would avoid substituting the S variant: it is a different sonar configuration. I would also check any adapter requirement against the exact transducer model.
Compatibility reference: Raymarine compatible-transducer documentation. I would ask the installer to mark the approved configuration on the quotation.
Is High-Wide or Medium CHIRP Better for Tuna?
I would start with high-wide CHIRP when searching a broader upper-water footprint matters most. I would investigate medium CHIRP when deeper target work changes the requirement. I compare exact transducers because band names alone do not establish coverage, sensitivity, depth performance or whether my display can operate the chosen configuration.
| Transducer | Power and band | Published beamwidth | Manufacturer maximum depth |
|---|---|---|---|
| B175HW | 1 kW; 150–250 kHz | Constant 25° | 500 ft / 152 m |
| B175M | 1 kW; 85–135 kHz | 16°–11° | 1,500 ft / 457 m |
| B175L | 1 kW; 40–60 kHz | 32°–21° | 2,500 ft / 762 m |
| B275LHW | 1 kW; low 42–65 kHz; high 150–250 kHz | Low 25°–16°; high 25° | Low 3,000 ft / 914 m; high 500 ft / 152 m |
Manufacturer specifications, not ReefReadyGear sea-trial results. Sources: Airmar B175HW, Airmar B175M, Airmar B175L, Airmar B275LHW. Listed depth limits are not guaranteed useful fish-detection depths.
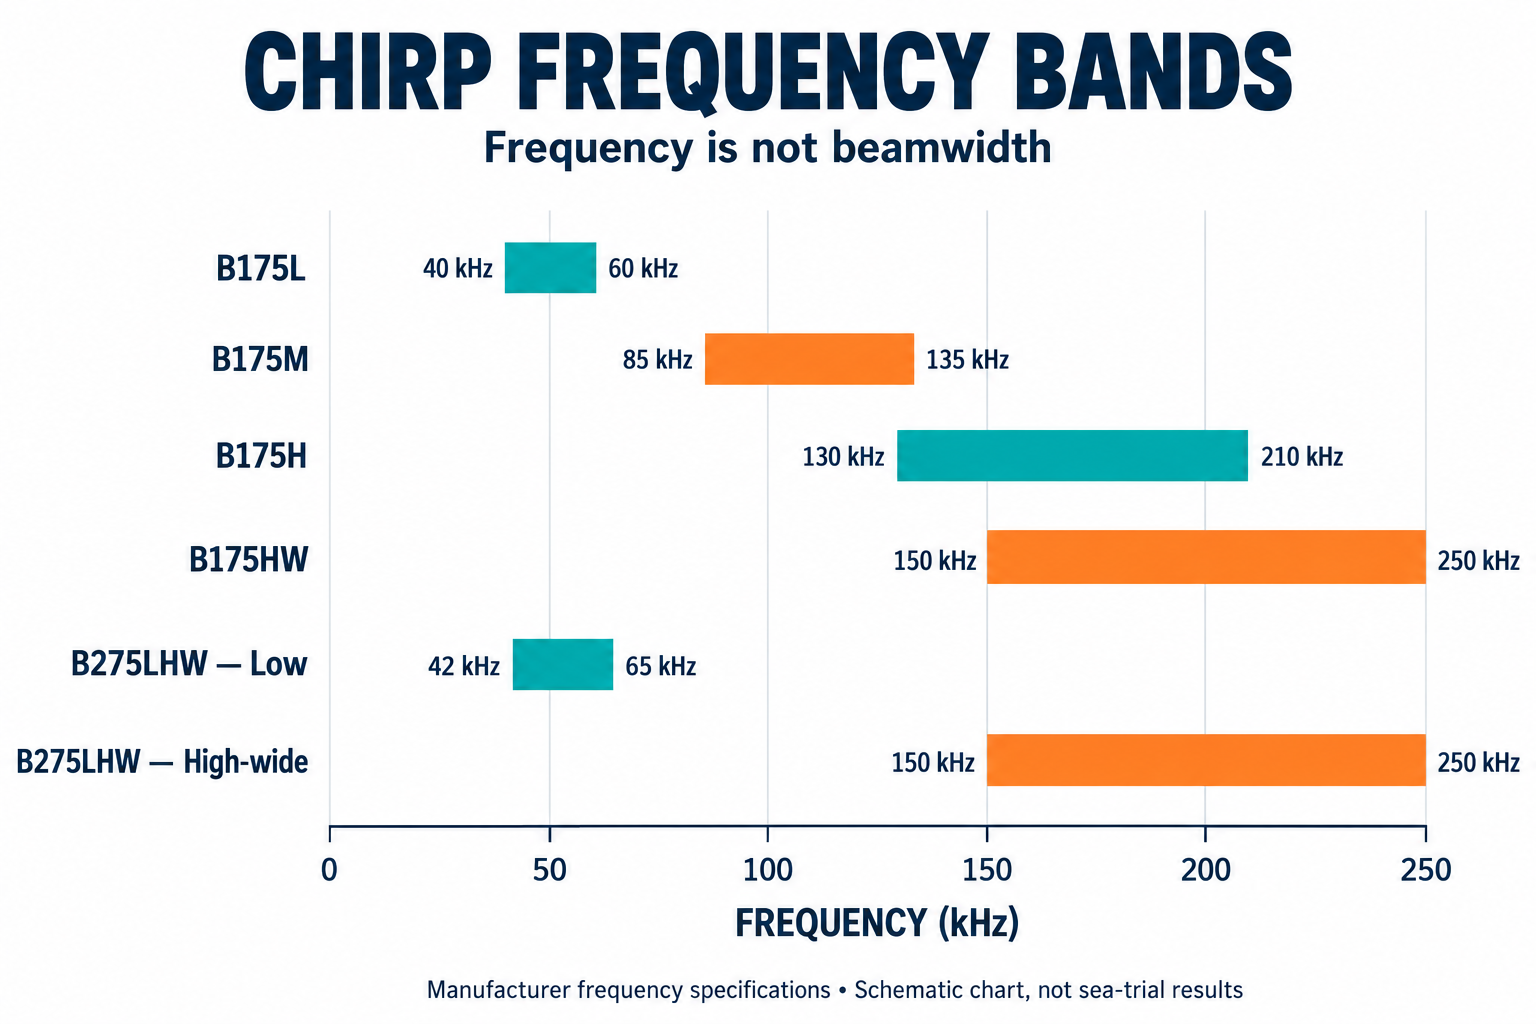
High-wide CHIRP for broader searching
The reported B175HW comparison made the coverage difference tangible. At 100 feet, its idealized 25° footprint is about 44 feet across. That gives more geometric coverage than a narrow beam, with greater uncertainty about where within the footprint a return originated. I do not call that guaranteed detection area.
Medium and low CHIRP for different requirements
The B175M offers a different depth-and-coverage balance. The B175L is not automatically the narrow-beam choice: its published 32°–21° angles are wider than the B175M’s 16°–11°. I would not sell a high-wide/low pair as a precise positioning system. My B175HW versus B175M comparison addresses the component tradeoff.
My B175H field setup
My supplied setup used a flush-mounted B175H-20 and the 130–210 kHz band. I cannot confirm a single definitive beam-angle specification from the conflicting published B175H material checked for this guide, so I do not use it for a precision footprint claim. The observed separation of bait and stronger marks remains a field account, not proof of the disputed specification.
How Much Water Does the Beam Cover?
I calculate beam footprint to understand the area represented by a return at a chosen depth. A wider cone covers more geometric area and leaves more uncertainty about lateral position. The calculation does not predict fish detection: target strength, beam-edge sensitivity, motion, sea conditions and signal processing still affect what appears.
Diameter = 2 × depth × tan(beam angle ÷ 2). For example, at 100 feet with a 25° beam: 2 × 100 × tan(12.5°) = 44.3 feet.
| Target depth | 25° diameter | 16° diameter | 11° diameter |
|---|---|---|---|
| 100 ft | 44.3 ft | 28.1 ft | 19.3 ft |
| 200 ft | 88.7 ft | 56.2 ft | 38.5 ft |
| 300 ft | 133.0 ft | 84.3 ft | 57.8 ft |
| 500 ft | 221.7 ft | 140.5 ft | 96.3 ft |
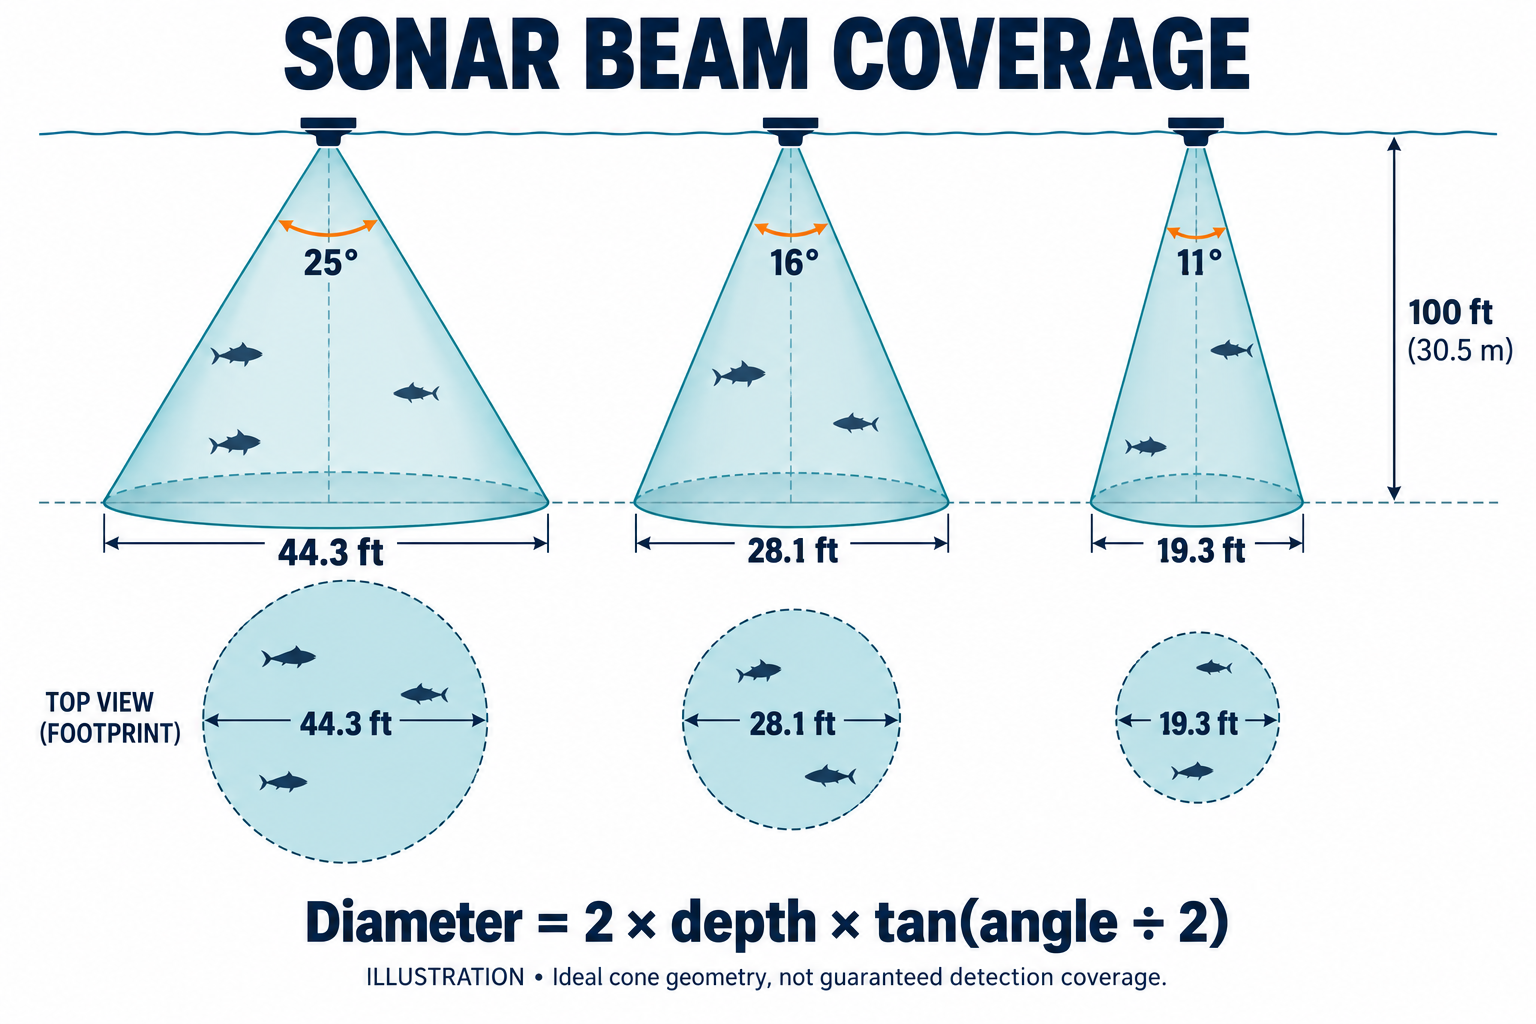
At 180 feet, the same 25° calculation gives a diameter of about 79.8 feet. A conventional return does not tell me which side of that circle holds the fish. These figures assume idealized cones intersecting a horizontal depth plane; the 500-foot row is geometry, not a detection endorsement.
What Installation Changes Offshore Performance?
I treat mounting and water flow as part of the sonar purchase. The supplied boat used a flush tilted-element installation, not a fairing block. I would measure deadrise at the proposed mounting position, inspect upstream fittings and hull features, and have the installer follow the exact transducer installation manual before approving any holes.
My installation and speed observations
The account describes a 28-foot center console with twin outboards and 24° transom deadrise. The B175H-20 sat forward of the transom and starboard of the keel, clear of nearby fittings. Those coordinates are observations about that boat, not a mounting template for another hull. Local deadrise still needs measuring.
| Reported speed | Observed picture | Buying implication |
|---|---|---|
| 7 knots | Best reported bait and individual-target clarity | Evaluate the setup at actual metering speed |
| 8.5–10 knots | Useful returns; shorter target marks | Trolling performance differs from drift performance |
| 20–25 knots | Degraded returns; dense bait still useful for scouting | Do not promise individual-tuna tracking at cruise |
| 28–30+ knots or adverse chop | Severe loss and clutter reported | Investigate aeration and installation with the yard |
My pre-purchase installer checklist
- Boat model, hull material, stepped or conventional bottom, and accessible mounting area.
- Measured deadrise at the proposed location and the exact tilt/housing option.
- Display, firmware, sounder and transducer part numbers.
- Supported frequency bands, power, connectors and simultaneous-channel behavior.
- Adapter list, cable lengths, cable routing and model-specific electrical protection.
- Haul-out, installation, commissioning and an underway acceptance check in the quotation.
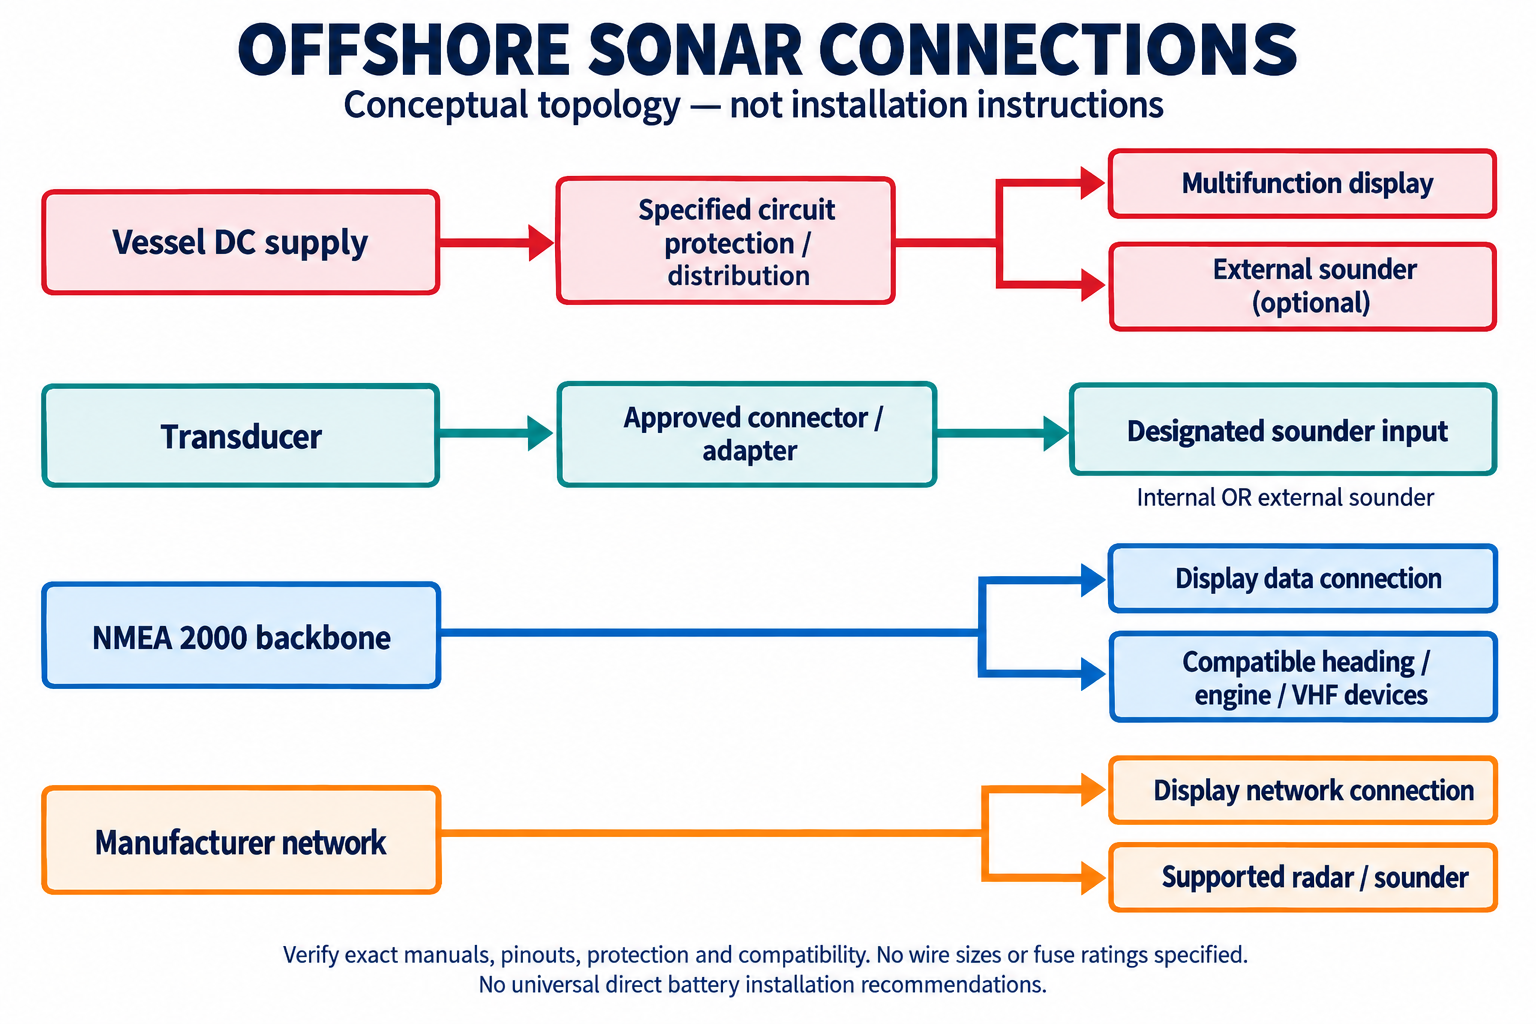
I would keep sonar, Ethernet and NMEA 2000 connections distinct. A heading sensor, autopilot, engine gateway and DSC radio each have their own compatibility and data requirements. NMEA 2000 is not a substitute for the sounder’s transducer connection.
What Does the Complete Setup Cost?
I compare installed quotations by their included components, rather than by display price alone. My supplied Furuno budget is an owner estimate for an older TZT12F route, not a current dealer offer. I would request fresh prices for the display, transducer, connections, installation and commissioning before comparing it with a current system.
| Owner-estimated component | Estimated amount |
|---|---|
| TZT12F display | $3,100–$3,300 |
| B175HW | $1,650–$1,750 |
| B175L or B175M | $1,350–$1,450 |
| Connection hardware allowance | $250 |
| Power/network allowance | $200 |
| Haul-out and labor | $1,800–$2,200 |
| Sum of supplied estimates | $8,350–$9,150 |
The total is simple addition of the six supplied ranges. It does not verify that the proposed paired-transducer arrangement works with a generic interface. An approved external module or different connection hardware could change the total. Charts, subscriptions and optional scanning sonar should appear separately.
How I Use the Setup to Search for Tuna
Set the range around the water I need to inspect
On the supplied trip, I focused on the upper 250 feet rather than asking the display to follow a seabed thousands of feet below. I would use the exact model’s manual for range and transmission settings. A shorter displayed range alone does not justify a numerical promise about ping rate.
Adjust one control at a time
I compare gain, time-varied gain, filtering and scroll speed against a repeatable return. The supplied settings are trip notes, not universal menu instructions. I cannot confirm every reported value or control label for every firmware version, so I would not publish them as a copy-and-paste tuning recipe.
I keep weak returns visible while searching, then test whether modest filtering improves interpretation over known bait. Color alone does not identify tuna, and a narrow fixed-frequency setting does not automatically establish superior separation to CHIRP.
Save the context with the mark
- Save a waypoint and a screenshot when the return is worth investigating.
- Record range, frequency, gain, filters, speed, heading and sea state.
- Make another pass or stop and compare the observation.
- Record any catch alongside the image without claiming every nearby return was the caught species.
Can a Sonar Display Identify a Tuna With Certainty?
I cannot identify a tuna with certainty from an ordinary sonar mark alone. I interpret the return alongside location, depth, movement, repeated passes and fishing observations. A catch can support the account of a productive stop, but it does not confirm the species or size of every mark visible beforehand.
The San Clemente stop
At around 07:15, the supplied account describes a diffuse layer at 70–85 feet and three stronger returns beneath it at 110–130 feet. I stopped, dropped 200-gram jigs and a sinker-rigged mackerel toward 150 feet, and worked through the marked zone. A rising return preceded the hookup and the reported 95-pound bluefin.
“That screen read was the direct difference between running past barren-looking surface water and boxing a 95-pound bluefin.”
Owner-supplied San Clemente Basin field account; no original sonar capture supplied.
Can a fish finder show a thermocline?
I may see a layer associated with a thermocline, but a horizontal sonar band alone does not confirm one. A thermocline is a zone of rapid temperature change with depth. I would compare a temperature profile with the return; surface temperature, current shear and a cold retrieved sinker cannot establish the boundary’s depth.
NOAA’s thermocline definition supports the temperature distinction. In this account, I call the layer bait-associated and the temperature boundary suspected. I cannot confirm bait species from a scale alone, nor fish identity from the display’s color palette.
Common Problems Before I Buy More Electronics
| Symptom | Possible cause | Next check |
|---|---|---|
| Returns deteriorate with speed | Water flow, aeration or mounting | Compare headings and speeds; consult the installer |
| Noise follows another device | Electrical or acoustic interference | Test devices separately using manual guidance |
| Weak marks vanish after an adjustment | Excessive filtering or unsuitable settings | Reverse the last change and compare |
| Poor deeper returns | Configuration, frequency, conditions or capability | Check approved hardware and documented limits |
| Blank display | Settings, connection, transmission or water-flow issue | Check system status; do not diagnose aeration from blankness alone |
| Split panels are difficult to read | Layout or helm viewing distance | Try fewer panels before replacing the display |
Do I Need Live, Side-Scan or Multibeam Sonar?
I would buy these functions for a defined search job, rather than as substitutes for a suitable conventional transducer. Downward-looking CHIRP, side-scan, live sonar and multibeam systems show different views. I would verify the exact hardware, range and installation requirements before assuming any option will find tuna beside the boat.
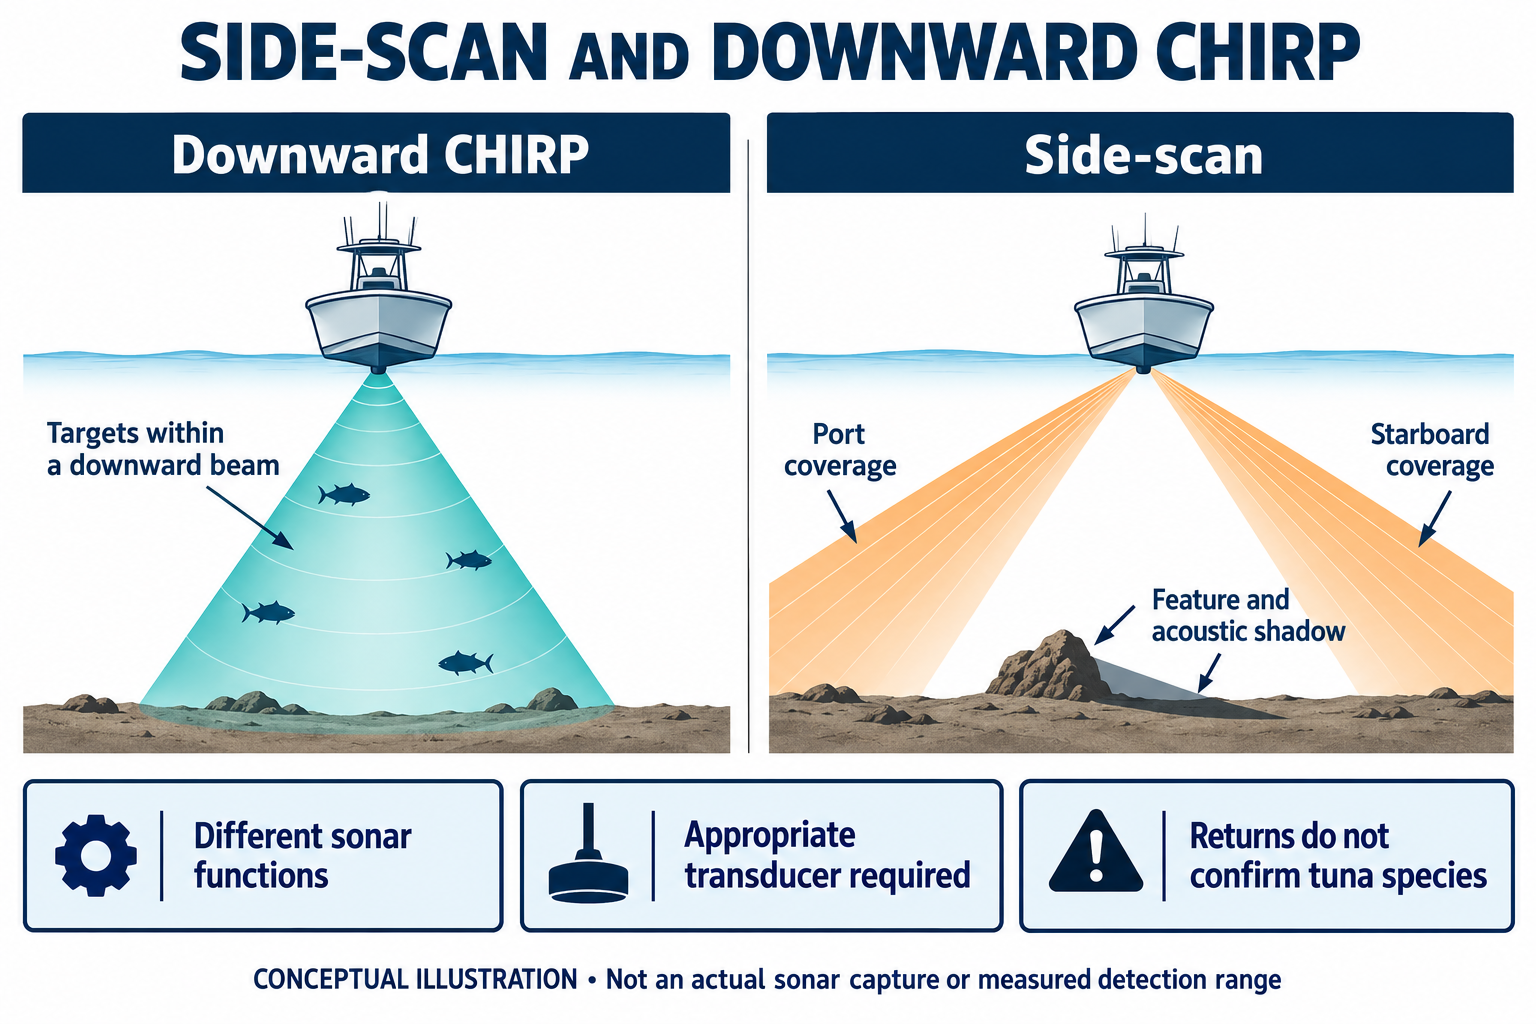
The illustration explains return-and-shadow relationships only. It is not a fish-identification example. A Furuno DFF3D route, for example, is a separate multibeam installation decision; its port/down/starboard functions should not be confused with a conventional single-beam transducer.
Frequently Asked Questions
Is 1 kW mandatory for tuna?
I would not set a universal minimum. My reference installation used 1 kW successfully, but target depth, conditions, transducer and installation determine the requirement. Higher rated power alone does not establish better separation, nor does it automatically make a system unsuitable for shallow targets.
Is a thru-hull always better?
I would choose according to hull material, access, water flow, trailering and the approved installation. A good mounting decision is specific to the boat. I would not prescribe a sealant, hole size or placement from a generic article.
What screen size should I buy?
I would test the actual helm distance and planned split-screen layout. I want depth labels and target detail readable while the boat is moving. A larger display can improve viewing comfort, but it does not correct poor transducer placement or unsupported sonar hardware.
Which Setup Would I Choose?
For my existing Furuno-equipped boat, I would first audit the TZT12F installation and its supported upgrade paths. For a new upper-water search setup, I would investigate an approved high-wide route. For regular deeper work, I would compare medium or documented dual-band configurations.
I would choose among the four display ecosystems after confirming the sonar configuration, existing-network integration and complete quote. My next action would be to hand the checklist to the installer and request exact part numbers with written compatibility confirmation.